
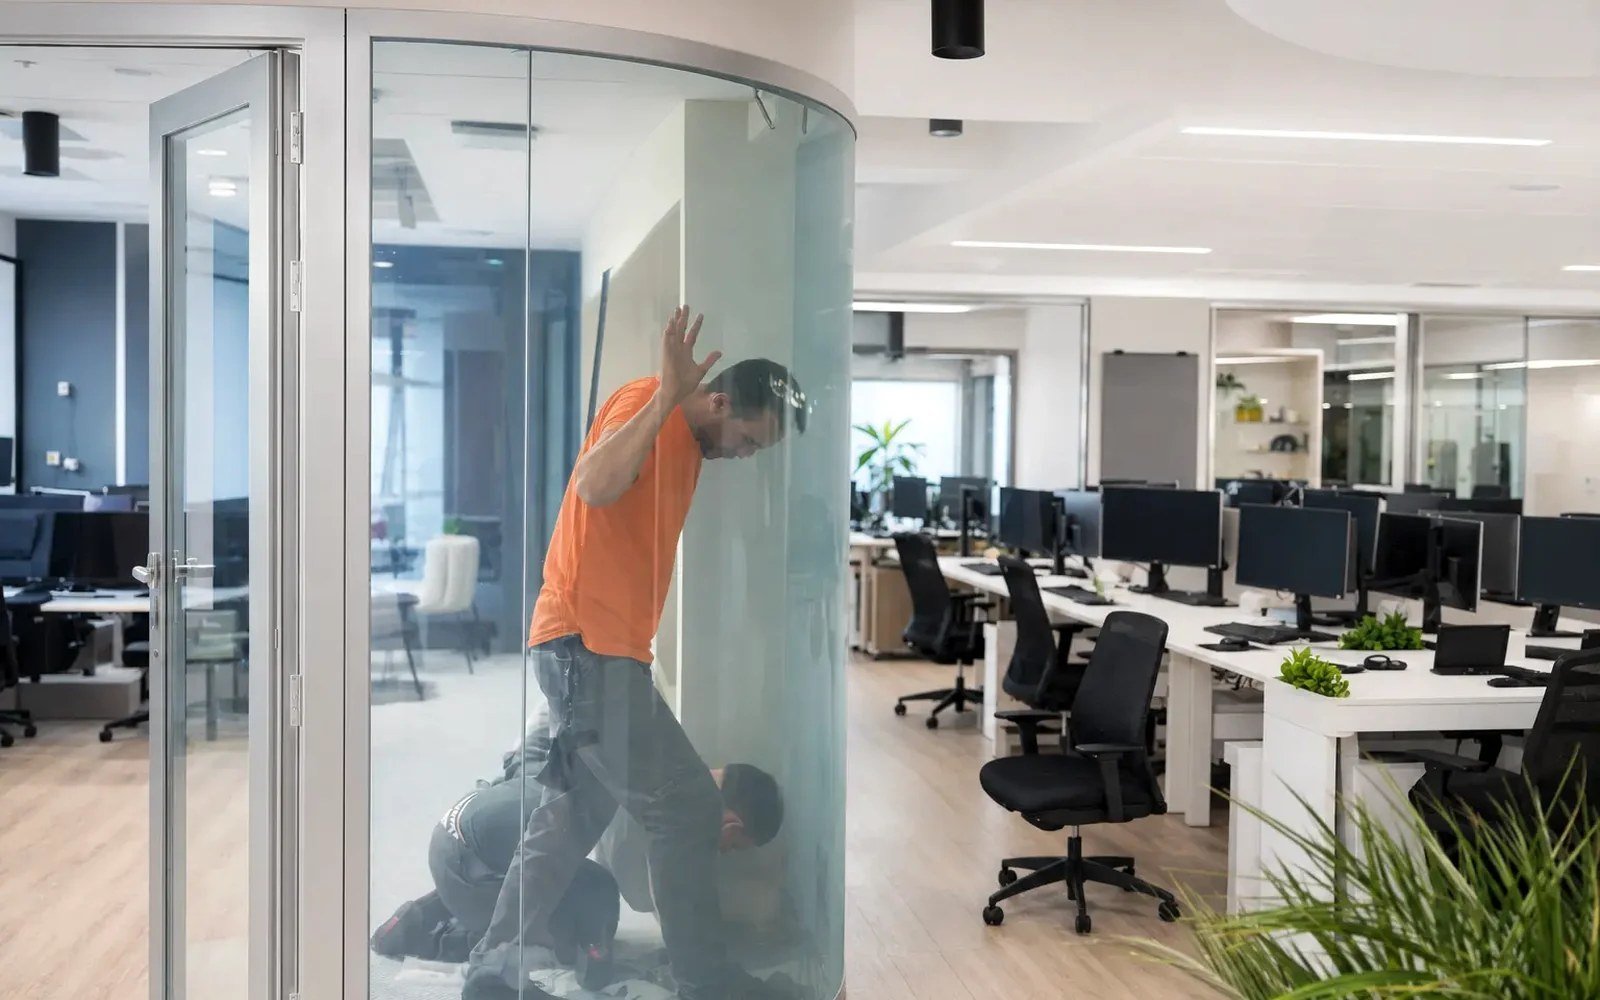
A switchable-glass project can be visually simple and still fail at the fabrication stage. A clean conference-room partition, clinic screen, or shower enclosure depends on details that are easy to overlook: the correct glass build-up, final opening sizes, edge treatment, lead locations, system clearances, and a defined electrical handoff. Knowing how to coordinate glazing fabrication is what turns a privacy-glass concept into an installation-ready assembly.
For qualified commercial projects, fabrication coordination is not an administrative step after selection. It is the point where design intent is translated into glass that can be made, shipped, installed, powered, and commissioned without field improvisation.
Start with the correct product path
The first coordination decision is whether the project requires retrofit PDLC film or fabricated laminated smart glass. These are different execution paths and should not be quoted or detailed as interchangeable.
Retrofit adhesive PDLC film is generally suited to existing interior glass where the base glazing is already installed, structurally appropriate, and in acceptable condition. The film is applied to the surface, with electrical components planned around the existing frames, trims, and access conditions. Fabrication of replacement glass is not the central issue, but field measurement, glass preparation, wiring concealment, and finish protection still require discipline.
Fabricated laminated smart glass is the appropriate path for new glazing, replacement panels, shower glass, exterior-facing applications, insulated assemblies, and locations where the smart layer must be protected within the glass construction. Here, the fabricator must work from released dimensions and approved details before glass enters production. A late change to a notch, hole, edge condition, or lead exit can mean remake risk rather than a field adjustment.
The distinction matters commercially as well as technically. A price based on retrofit film cannot be used as a placeholder for a fabricated safety-glass assembly. Likewise, a laminated smart-glass quote should not assume standard glass-wall tolerances without confirming the partition system and installation method.
How to coordinate glazing fabrication before release
Do not release a smart-glass panel on a dimensioned opening alone. The fabricator needs a coordinated package that identifies the complete assembly, not just panel width and height.
At minimum, the project team should establish the final glass type and thickness; safety-glass requirements; finished panel dimensions; edgework; all holes, notches, and cutouts; orientation; smart-layer active area; electrical lead position; and the receiving glazing system. For larger commercial packages, include panel labels, elevations, room references, and a clear revision date on every drawing.
Confirm the glazing system, not just the glass size
Glass-wall dealers and glaziers often receive architectural dimensions before the selected hardware system is fully resolved. That is a common source of trouble. Head channels, patch fittings, clamps, door rails, gaskets, setting blocks, and silicone joints all affect the usable glass dimension and the areas that will be concealed after installation.
The fabricator needs to know whether the panel is captured, butt-glazed, point-supported, framed, or installed in a proprietary demountable partition system. A lead exit that appears acceptable on an elevation may land behind a structural mullion, directly at a clamp, or in a location that cannot be serviced after the wall is closed.
Treat the hardware supplier's approved glass schedule as a governing document. If the smart-glass build-up differs from the standard panel thickness assumed by the system, confirm that the channel, gasket, clamp, and door hardware can accommodate it. Do not solve a thickness mismatch in the field by over-compressing gaskets or modifying hardware without written acceptance from the responsible system provider.
Freeze every fabricated feature early
Holes, notches, corner radii, and edge profiles are fabrication instructions, not site preferences. Their size, location, and tolerance must be confirmed before production. This is especially relevant at doors, sidelites, return panels, shower enclosures, and glass-to-glass intersections where a small geometry change can affect both hardware fit and electrical routing.
Smart-glass assemblies also need clear orientation. Mark the room side, exterior side where applicable, top edge, and lead edge. If multiple panels look similar but have different lead locations, label them individually. A panel installed upside down may still fit physically, but it can place electrical connections where no access exists.
Reference discipline prevents costly ambiguity. The architectural elevation, fabrication drawing, hardware schedule, and electrical plan should all use the same panel identification. If a panel changes, revise the full set rather than relying on email instructions or marked-up screenshots.
Coordinate electrical details as part of the glass package
Switchable glass is both a glazing product and an electrical component. The glass fabrication cannot be fully coordinated until the power and control path are defined.
Identify where each panel's leads will exit, how they will be protected during handling, and where connections will be made. The answer may be a head channel, adjacent mullion, ceiling cavity, wall pocket, or accessible service zone. It depends on the partition system, architectural finish, and maintenance expectations.
Avoid assuming that a narrow aluminum channel has sufficient room for leads, connectors, and strain relief. Some systems have limited internal volume, and a concealed path may require a larger raceway, a modified cover, or an adjacent concealed cavity. The glazier, electrician, millwork team, and low-voltage controls team should agree on this before fabrication release.
Power supplies and controllers should be located in accessible, ventilated locations consistent with the electrical design. A beautiful privacy partition becomes difficult to support if the driver is buried above an inaccessible hard lid or behind fixed millwork. Where grouping is planned, confirm which panels are controlled together and whether the load calculation supports the intended power architecture.
The control sequence also affects coordination. A conference room may require wall-switch control, occupancy logic, integration with an audiovisual system, or a dedicated privacy scene. A healthcare application may require simple local operation and predictable default behavior. The fabrication package does not need to solve programming, but it must preserve the routing and access necessary for the selected control approach.
Establish a fabrication release gate
A disciplined release gate separates design development from production. Before authorizing fabrication, the responsible project team should confirm that field measurements are complete where required, drawings are approved, hardware is selected, electrical lead locations are accepted, and glass specifications meet applicable code and safety requirements.
This is also the point to review practical limits. Oversized panels may affect yield, handling equipment, freight planning, installation labor, and replacement exposure. Complex shapes can increase fabrication time and reduce flexibility if the site changes. A larger panel may create a cleaner visual result, while smaller modules may offer safer handling and easier replacement. The correct decision depends on the opening, access route, budget, and project schedule.
For new construction, avoid releasing smart glass based only on rough framing dimensions. For renovation work, verify whether existing conditions are plumb, level, and consistent across the opening. Old frames and out-of-square walls often require an allowance that is not apparent in design drawings.
Protect the panels from fabrication through installation
Fabrication coordination continues after the order is released. Confirm packaging orientation, panel identification, delivery sequence, unloading conditions, and jobsite storage. Smart-glass leads and edge areas need protection from crushing, moisture exposure, uncontrolled bending, and accidental trimming by other trades.
The installation team should receive panel-specific handling instructions before delivery, not after a crate arrives. They need to know which edge carries the leads, where temporary protection must remain in place, and when electrical connections can be completed. Keep connections isolated until the system is ready for testing, particularly on active commercial sites where drywall, paint, ceiling, and millwork work may still be underway.
A pre-install review between the glazing lead and electrical lead is often worth more than a late punch-list meeting. Confirm that pathways are open, power is available, controls are identified, and no finished surfaces will need to be removed to reach a connection.
Test before the project becomes a closeout issue
Each panel should be inspected on arrival for correct labeling, dimensions, edge condition, and lead placement before it is set. After installation, test privacy performance, panel grouping, switching response, and control operation before trims, ceilings, or permanent access restrictions are completed.
Document the final panel layout, power-supply locations, controller locations, and circuit identification for the closeout package. This is valuable for facilities teams and protects the installation partner if future maintenance is required. It also creates a reliable reference if a panel must be serviced or replaced years later.
Smartglass USA approaches qualified projects with this execution path in mind: product selection, fabrication coordination, installation readiness, and a clear electrical handoff. The objective is not simply to supply a privacy surface. It is to help capable project partners deliver a finished architectural system that performs as specified.
The best time to resolve a lead location, gasket clearance, or panel orientation is while it is still a drawing detail. Once glass is fabricated, coordination becomes recovery. Keep the release package complete, keep responsibility lines clear, and give the field team a panel they can install with confidence.