
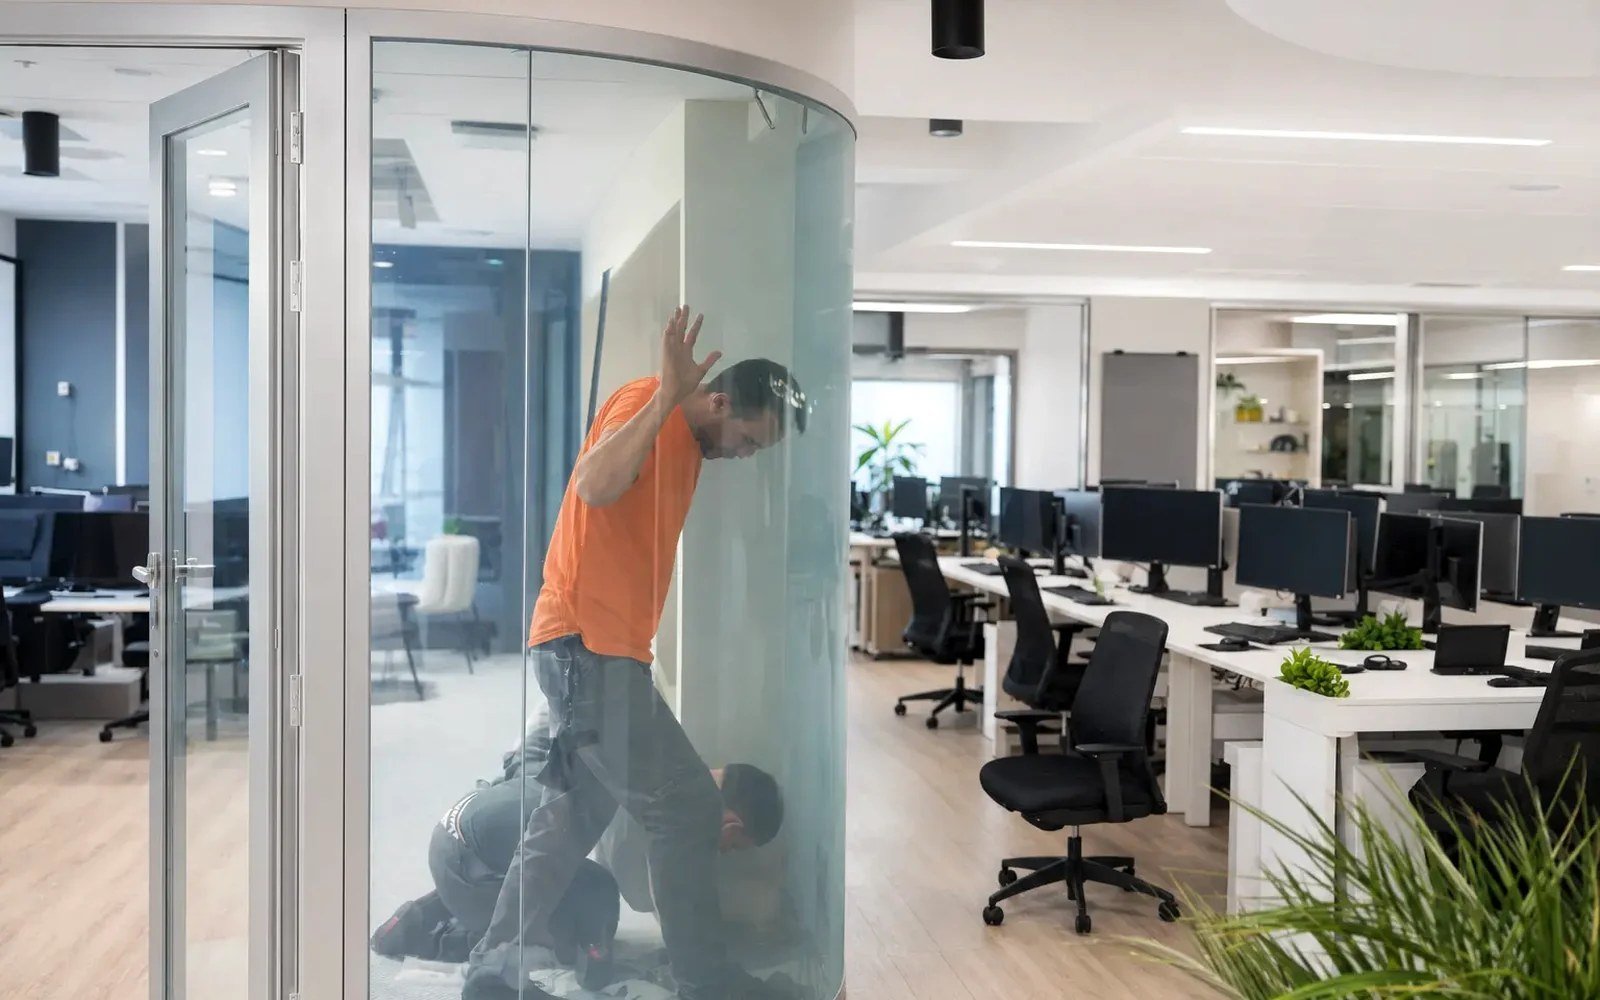
A privacy panel can look straightforward on a reflected ceiling plan: one clear opening, one rectangular switchable-glass area, one privacy requirement. In the field, that opening is shaped by glazing pockets, door hardware, mullions, electrical exits, safety-glass requirements, and the visual expectations of the architect. Knowing how to size privacy panels means sizing the complete engineered assembly, not simply matching a rough opening.
For commercial interiors, a correct panel size protects more than appearance. It determines whether the privacy field aligns with the intended sightline, whether the glass can be fabricated and transported responsibly, whether controls can be coordinated cleanly, and whether the installer has a serious execution path on site.
Start With the Privacy Requirement, Not the Opening
The first sizing question is not, “What is the glass width?” It is, “What must be concealed when the system is in privacy mode?” A conference room may need standing occupants screened from a corridor. A clinic may need full visual separation at seated and standing eye level. A hospitality suite may want a transparent perimeter during normal use and visual discretion only around a bathing area.
Define the active privacy zone before finalizing the panel geometry. In many office partitions, the desired effect is full-height privacy across the visible glazing field. In other applications, the correct answer may be a lower band, a centered panel, or a segmented arrangement that preserves open views above a certain elevation.
This distinction matters because switchable privacy glass does not eliminate the realities of framing. The glass must still be captured by the selected system, and its active layer must be located where it delivers the intended visual result. A panel that is technically powered but leaves an unexpected clear strip at the edge of a sideliter can become a design issue immediately after commissioning.
How to Size Privacy Panels From Field Dimensions
For retrofit PDLC smart film on existing interior glass, begin with verified exposed glass dimensions, not nominal partition dimensions. Measure the visible glass area from finished edge to finished edge after the glazing system is installed. Record the width and height at multiple points. Existing partitions are not always perfectly square, particularly across long runs or near doors and structural transitions.
The film is generally sized to the usable, visible glass area with a deliberate perimeter setback. That setback is not a cosmetic afterthought. It helps prevent the film edge from entering the gasket line, silicone bite, frit band, or frame shadow where adhesion and appearance can be compromised. The appropriate offset depends on the glass condition, frame type, and electrical-routing approach, but it should be established as part of project review rather than assumed from a generic detail.
For fabricated laminated smart glass, the sizing basis changes. The glass is fabricated to the glazing system's required finished dimensions, edge treatment, thickness, safety classification, and tolerances. The switchable layer is integrated within the laminated assembly, while the finished glass perimeter is engineered for the frame or hardware system. This is the correct path for new construction, shower glass, demanding wet conditions, exterior-facing applications, and projects where the privacy feature must be part of the permanent glass assembly.
Do not transfer a retrofit-film sizing convention directly to fabricated glass. A visible setback may be appropriate for an applied film, while a laminated smart-glass panel requires coordination of the active area, interlayer construction, busbar location, edge deletion where applicable, and glazing capture. These are different products with different execution requirements.
Measure the Actual Glass Condition
A clean survey package reduces downstream revisions. For each opening, document the exposed width and height, glass thickness if known, frame system, door proximity, mullion locations, and any existing decals, films, chips, scratches, or edge obstructions. Photographs should show both the overall elevation and close views of corners, gaskets, and potential wire exits.
Where openings repeat, do not assume they are identical until measurements confirm it. A storefront-style conference front can contain panels that vary by fractions of an inch because of leveling, base conditions, or door-frame adjustments. Those differences may be insignificant for standard glass, but they can be visible when a consistent privacy-field margin is expected across an architectural elevation.
For new work, use approved shop drawings and glazing details as the initial reference, then verify final dimensions through the fabrication and installation channel. Design dimensions are necessary, but fabrication release should follow the project’s established field-verification discipline.
Account for Framing, Sightlines, and Doors
Privacy performance is experienced from the occupied space and the circulation side. That makes sightlines as relevant as nominal dimensions. Review the panel elevation from both sides of the partition, particularly where there are adjacent doors, sidelites, borrowed-light openings, or offset mullions.
A common issue occurs at door-adjacent panels. The glass may be wide enough for a large active area, but closer hardware, lock prep, or a narrow stile can limit electrical routing or make a centered layout look visually unbalanced. Similarly, a full-height glazed wall may include a horizontal transom or base channel that changes the apparent proportions of the privacy zone.
Set the active area intentionally. If the design calls for uniform margins, dimension those margins. If the goal is maximum coverage, establish where the system can safely approach the glazing edge without conflicting with framing or fabrication requirements. Avoid language such as “cover the whole pane” on a purchase order. That phrase is open to interpretation and is not a fabrication instruction.
When multiple panels sit in a continuous wall, align privacy-field edges across the elevation whenever practical. Small variations are sometimes unavoidable, especially around doors or electrical junctions, but the design team should decide where exceptions are acceptable before material is released.
Size for Fabrication, Handling, and Panel Weight
Large privacy panels are not only a visual decision. Panel dimensions affect glass thickness, laminate construction, weight, handling equipment, transportation, and installation sequencing. As dimensions increase, project teams must consider deflection, wind or impact requirements where relevant, frame capacity, and the installer’s ability to safely maneuver the finished units into place.
The practical maximum size depends on the specific smart-glass construction and project conditions. It should never be inferred from a standard glass size chart alone. A large conference-room panel in a protected interior partition is a different engineering case from a tall hotel shower enclosure or an exterior-facing glazed wall.
Where a desired opening approaches a practical fabrication or handling limit, division into multiple panels may be the better solution. That introduces vertical joints or mullions, but it can improve transport, replacement strategy, and installation control. The trade-off is architectural: more divisions can reduce the uninterrupted glass effect, while one oversized unit may increase cost, risk, and lead-time sensitivity.
Panel divisions also affect the control plan. Determine whether each lite needs independent privacy control or whether a group should operate together. A single visual wall may be divided into several electrical zones for load management, operational flexibility, or phased use. The panel schedule should make that relationship clear.
Coordinate Electrical Exits Before Final Dimensions
Switchable glass and PDLC film require a defined electrical path. That requirement should influence sizing and orientation from the beginning. Identify which edge will carry the electrical connection, where the wiring will exit, how it will be concealed, and where the control equipment will be located.
For retrofit film, wiring may need to transition from the glass edge into a head channel, vertical jamb, ceiling cavity, or adjacent millwork. The most elegant panel layout can become impractical if the specified wire exit lands at an exposed edge with no routing path. For laminated smart glass, electrical connections must be coordinated with the fabricated assembly and the glazing detail before production.
Avoid treating power as a field-only issue. The electrical contractor, low-voltage team where applicable, glazier, and partition installer need a coordinated responsibility matrix. Confirm voltage, control location, switching method, access for service, and the sequence for energizing the system. Privacy panels should be commissioned after glass installation is complete and the electrical connections have been inspected.
Use a Panel Schedule That Can Be Quoted and Built
A concise panel schedule is the bridge between design intent and commercial execution. At minimum, each panel should have a unique identifier, location, finished glass size or measured visible-glass size, active privacy area, product path, orientation, electrical-exit location, and control zone.
It is also useful to state whether dimensions are design intent, field verified, or released for fabrication. That simple distinction prevents a budget number from being mistaken for a final manufacturing instruction. On qualified commercial projects, this reference discipline is often what separates an accurate quote from a costly scope correction.
Smartglass USA reviews these inputs as part of the project path because the right answer depends on whether the work involves existing interior glass or a new fabricated assembly. A clear schedule allows the appropriate product, fabrication approach, and installation coordination to be evaluated before assumptions become commitments.
Common Sizing Errors to Avoid
The most expensive errors are usually not dramatic. They are small decisions made too early: sizing applied film to a rough opening instead of visible glass, overlooking a door-frame sightline, placing a wire exit where it cannot be concealed, or specifying one oversized lite without confirming handling constraints.
Another frequent mistake is treating privacy opacity as the only performance measure. PDLC systems provide visual privacy in the powered-off state, but they are not a substitute for an opaque wall in every lighting condition or security scenario. If silhouettes, high-contrast backlighting, acoustic separation, or blackout performance are critical, address those requirements separately during design.
The right panel size is the one that supports the intended privacy field, the chosen glazing system, the electrical route, and the installation method at the same time. Establish those conditions early, and the finished glass wall will read as a deliberate architectural element rather than a privacy feature added after the fact.